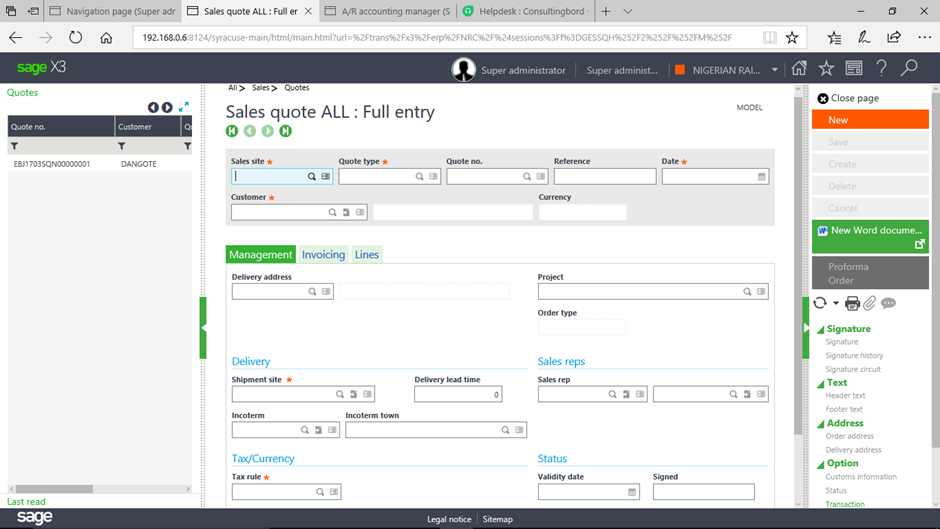
To create a sales quote in Sage X3, you’ll typically follow a series of steps within the Sales module. Here’s a general guide:
1. Accessing the Sales Quotes Module
- Log in to your Sage X3 account with appropriate user credentials.
- Navigate to the Sales module, where you will find the Sales Quotes option.
2. Create a New Sales Quote
- Once in the Sales module, locate and click on the “Sales Quotes” option.
- Look for a button or link that says “New” or “Create” to start a new sales quote.
3. Enter Customer Information
- In the new sales quote screen, you’ll need to enter the customer’s information.
- This includes their name, contact details, billing address, shipping address, and any other relevant information.
4. Add Products or Services
- After entering customer information, proceed to add the products or services that are part of the quote.
- You can either manually enter the item codes, descriptions, quantities, prices, and discounts, or you can select them from your product/service catalogue.
5. Review and Confirm Details
- Review the details of the sales quote to ensure accuracy. Double-check product/service information, pricing, quantities, and any applied discounts.
- Make any necessary adjustments or additions to the quote.
6. Save or Finalize the Quote
- Once you’re satisfied with the sales quote, you can save it as a draft if you need to make further edits later.
- Alternatively, if the quote is ready to be sent to the customer, you can finalize it to generate a formal document.
7. Send the Sales Quote
- After finalizing the quote, you can choose to print it, save it as a PDF, or directly send it to the customer via email or another communication method.

